 "MonkeePuzzle" (monkeypuzzle)
08/04/2015 at 09:28 • Filed to: None
 5
5
 14
14
 "MonkeePuzzle" (monkeypuzzle)
08/04/2015 at 09:28 • Filed to: None |  5 5
|  14 14 |
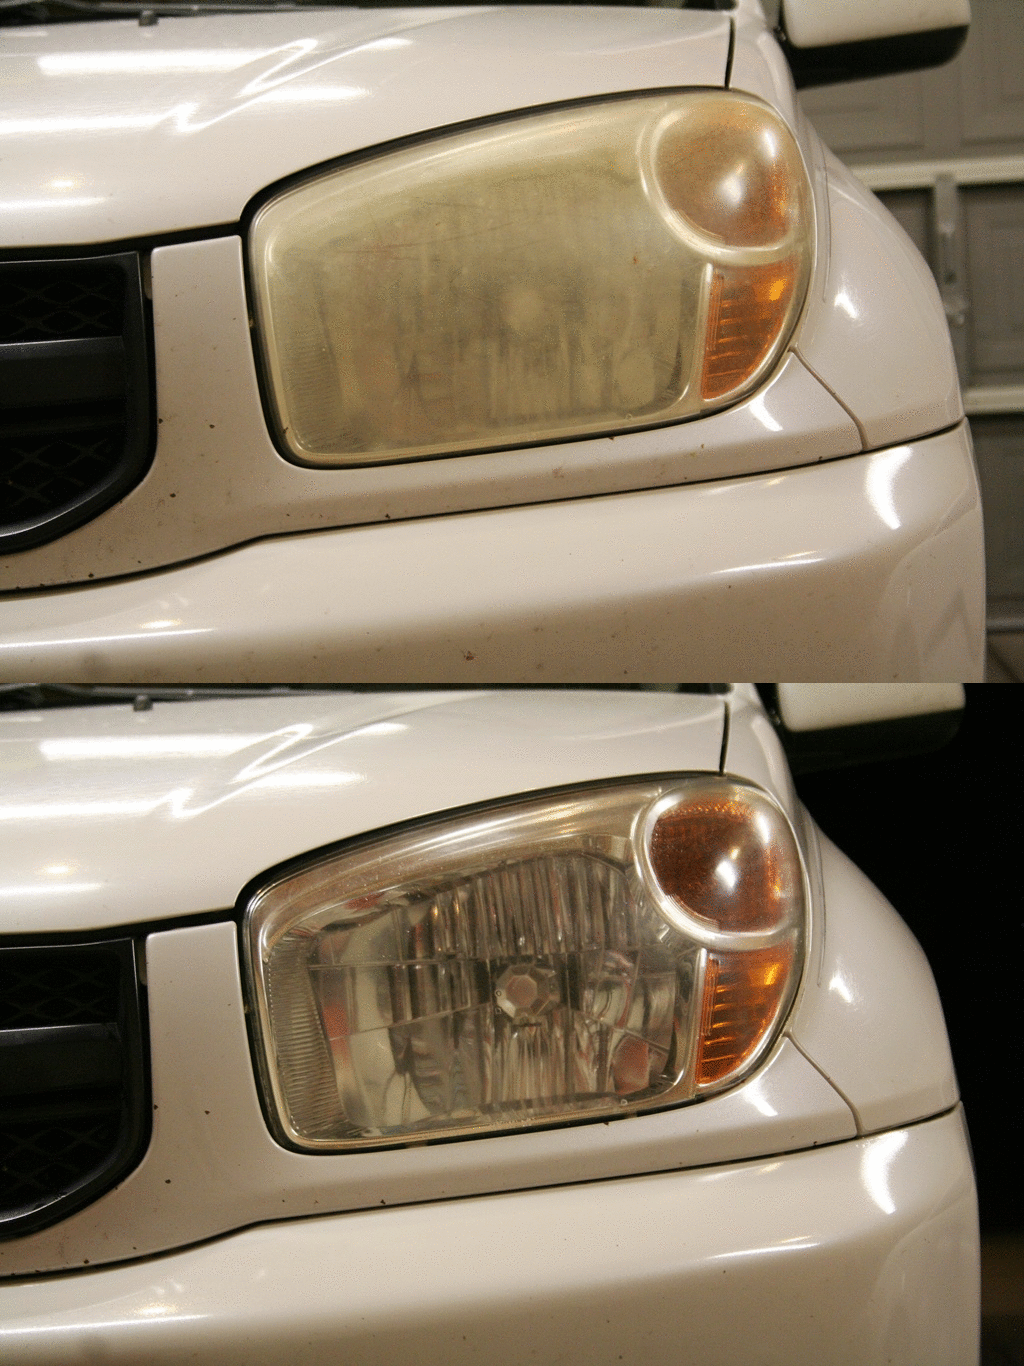
they were pretty horrendous, so I started with 1000 grit sand paper, then a polishing compound, then a generic headlight restoring paste

note, one should ensure their mount is solid prior to attempting a time lapse
but I got it right for the other side, just worse lighting
 Alex B
> MonkeePuzzle
08/04/2015 at 09:36 |
|
I love this generation of Rav 4.
Looks much better!
 Rainbow
> MonkeePuzzle
08/04/2015 at 09:37 |
|
Don’t you do that every night? ;)
 Racescort666
> MonkeePuzzle
08/04/2015 at 09:37 |
|


 $kaycog
> MonkeePuzzle
08/04/2015 at 09:39 |
|
Wow, you work fast! Good job!
 MonkeePuzzle
> Rainbow
08/04/2015 at 09:40 |
|

 Tripper
> MonkeePuzzle
08/04/2015 at 09:45 |
|
Just got the 3M kit to resurface the headlights on my fiancee’s cooper S. How dead was your arm afterward?
 Smallbear wants a modern Syclone, local Maple Leafs spammer
> MonkeePuzzle
08/04/2015 at 09:48 |
|
Took me longer than I want to admit.
 MonkeePuzzle
> Tripper
08/04/2015 at 09:50 |
|
truly not bad. that second video was a frame taken a second, played back at 10 frames a second. with a bit if walking around to get the right gear together, etc. I think you can be done in about 30-45 minutes total work
 facw
> MonkeePuzzle
08/04/2015 at 09:54 |
|
You got some sort of UV protectant on so it doesn’t just happen again right?
 MonkeePuzzle
> facw
08/04/2015 at 09:58 |
|
I have a spray on sealanty thing, that I shall be doing tonight
 CalzoneGolem
> MonkeePuzzle
08/04/2015 at 10:15 |
|

 pjhusa
> MonkeePuzzle
08/04/2015 at 10:26 |
|
Ahahahaha, the first video was funny.
The second one was at a worse FPS, but it’s easier to use that to learn how to do this.
I should do it, I used the “toothpaste method” on my ML, but it did not work.
 MonkeePuzzle
> pjhusa
08/04/2015 at 10:46 |
|
you should indeed, the difference it makes in the appearance of the car
 WiscoProud
> MonkeePuzzle
08/04/2015 at 11:14 |
|
Based on the headline I expected a "NSFW" tag...